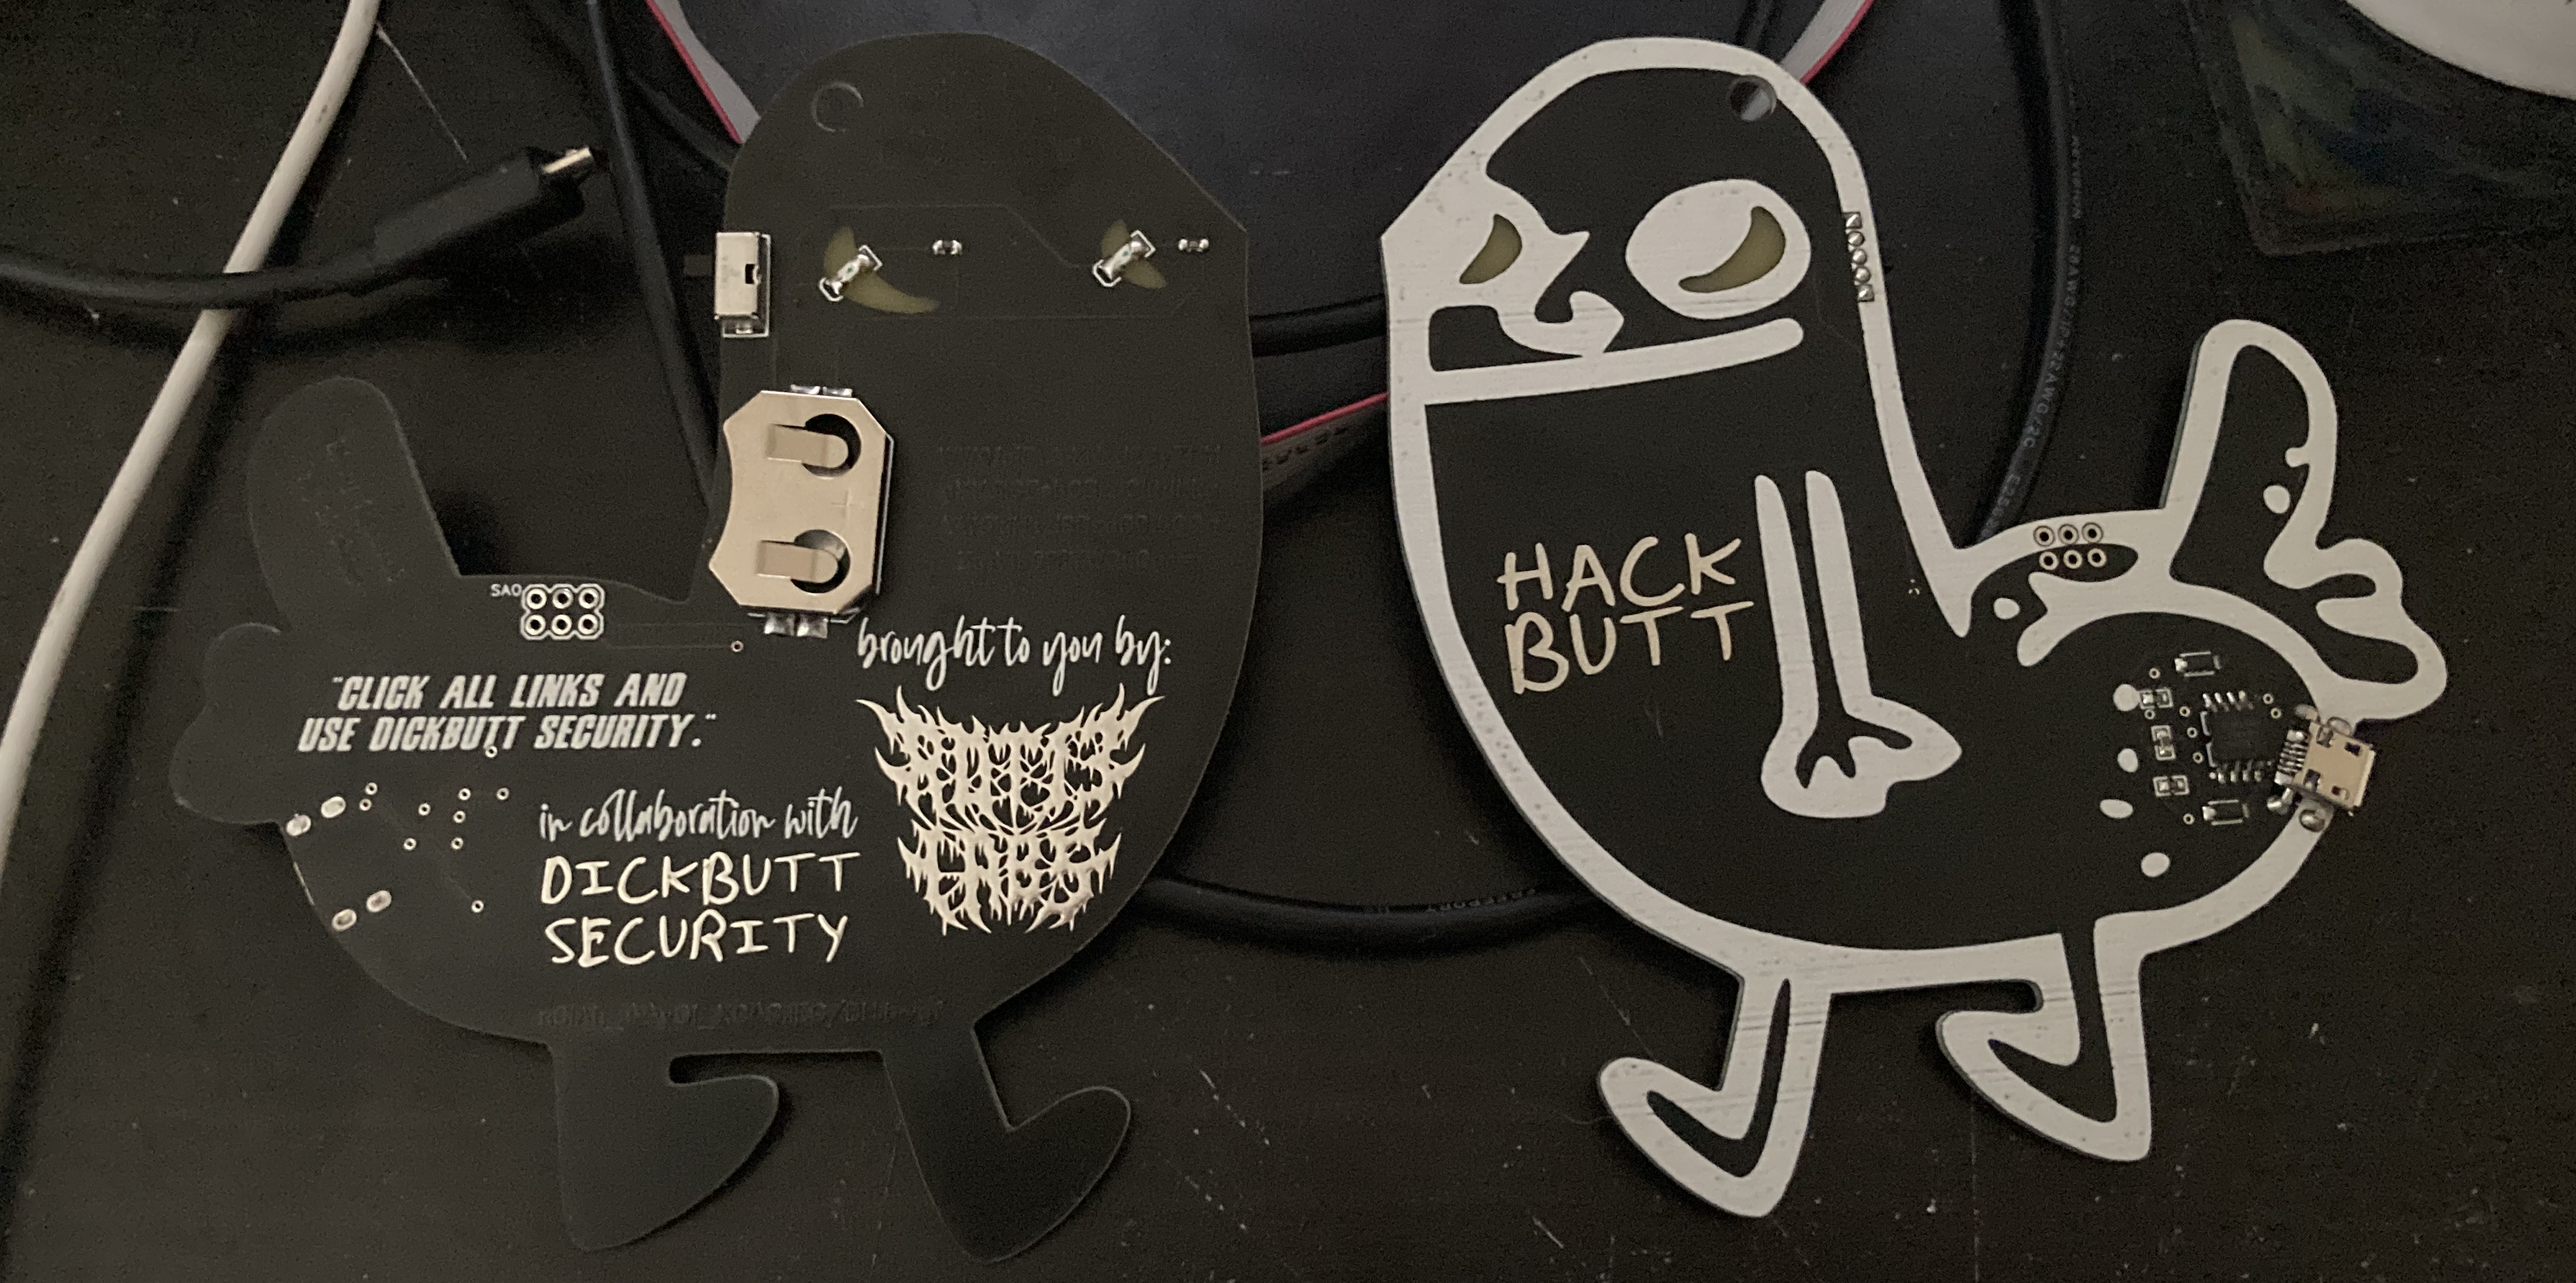
If you're reading this, then thank you for purchasing the rot13labs Hackbutt Badge! These badges are designed to be simple to configure using basic software. The first thing you will need to do is download the Arduino IDE.
The Arduino IDE will do almost everything you need out of the box, however we will need to get the ATtiny85 board package installed in order to send our payloads to Hackbutt. To do this, open the Arduino IDE and click Arduino (or File in Windows) > Preferences... and then in the "Additional Boards Manager URLs" section, and add 'https://raw.githubusercontent.com/ArminJo/DigistumpArduino/master/package_digistump_index.json' to the list. (Huge thanks to @LambdaCalculus7 for finding this updated Digistump board configuration!)
Once the digistump url has been added, click Tools > Boards > Boards Manager... and find the "Digistump AVR Boards" package and Install it. With this package installed, you can now select "Digispark (Default - 16.5mhz)" as your board. Now you are set to begin developing your first script!
Since the Hackbutts are built using the ATtiny85 chipset, there is already a full thriving community of security professionals developing ATtiny85 Ducky Scripts that will work perfectly with your new badge without any modifications necessary. Simply load in the script you want to use, or develop your own, and click Upload. The Arduino IDE will compile the script and once everything is ready, it will tell you to plug in your Hackbutt and upload the compiled script.